Drip irrigation works best when every line delivers water smoothly, evenly, and exactly where plants need it. But without regular maintenance, drip lines can clog, leak, or lose pressure, turning a water-saving system into a frustrating problem. The good news is that preventing drip line issues is simple when you know what to check and when to act.
Whether you manage a home garden, raised beds, landscaping, or a larger irrigation setup, proper drip line maintenance helps protect your system, conserve water, and keep plants healthy. If you want reliable performance season after season, a few routine habits can make all the difference.
Why Drip Line Maintenance Matters
Drip irrigation is designed for precision. Instead of spraying water everywhere, it slowly releases moisture at the root zone. That efficiency depends on clean, unobstructed lines and secure fittings. When emitters clog or connections leak, plants may receive too much water in one area and too little in another.
Regular maintenance helps you:
- Prevent uneven watering
- Reduce water waste
- Extend the life of your irrigation system
- Protect plants from stress caused by under- or overwatering
- Catch small issues before they become expensive repairs
Common Causes of Drip Line Clogging
Clogs usually happen gradually, which makes them easy to miss at first. Understanding the most common causes can help you stay ahead of problems.
1. Sediment and debris
Dirt, sand, and small particles can enter the system and settle inside drip lines or emitters. This is especially common if your water source is untreated, drawn from a well, or filtered poorly.
2. Hard water buildup
Minerals in hard water can collect over time and narrow the flow path. Calcium and other deposits are a frequent cause of reduced output in drip irrigation systems.
3. Algae and biological growth
When sunlight reaches water inside clear or partially exposed tubing, algae can develop and obstruct the line. Organic buildup can also occur in systems that sit idle for long periods.
4. Root intrusion
Roots may grow toward moisture and invade emitters or fittings, particularly in garden beds and landscaped areas where plants are established close to irrigation lines.
How to Prevent Clogging in Drip Lines
The best way to avoid clogs is to build a maintenance routine around filtration, flushing, and inspection. These small steps keep water flowing freely and reduce the risk of hidden blockages.
Install and maintain proper filtration
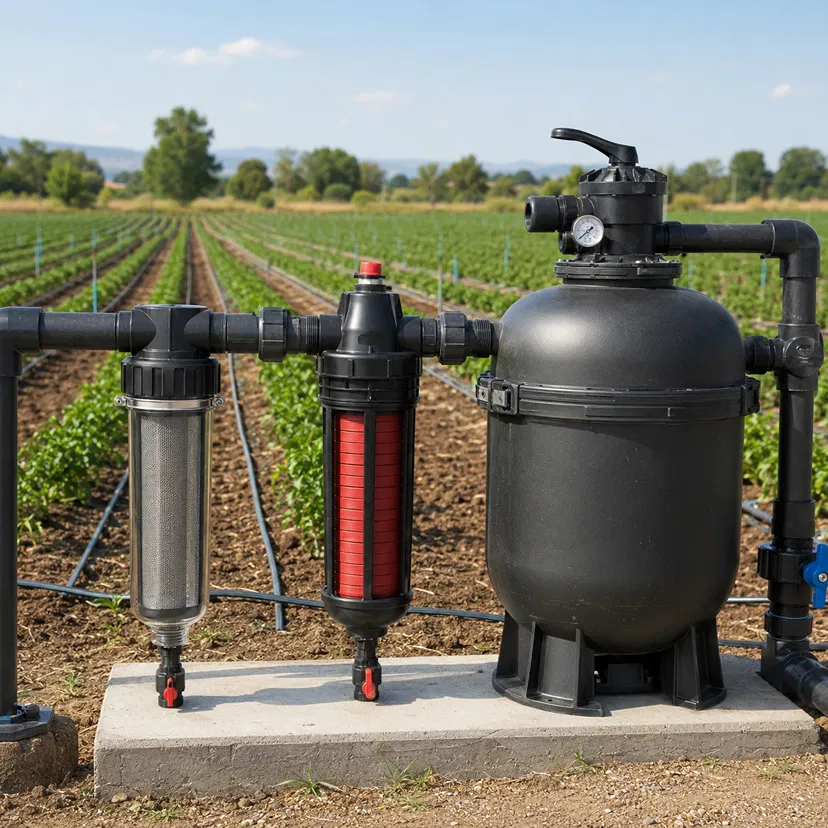
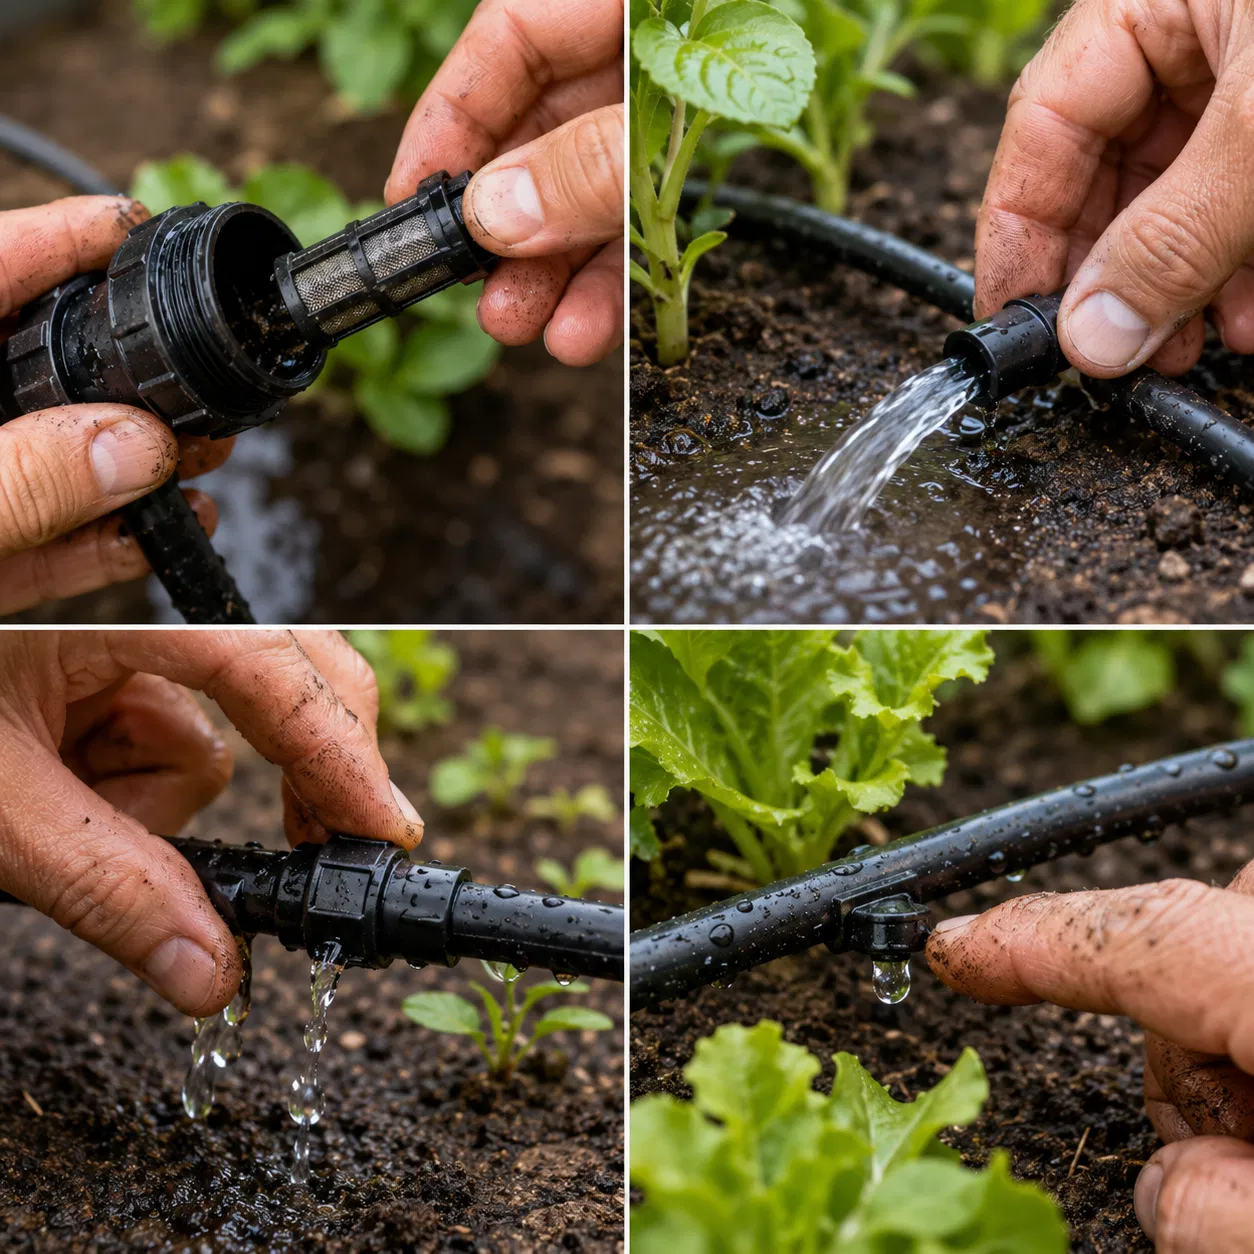
A quality filter is one of the most important parts of a drip irrigation system. It catches debris before it reaches the lines. Choose the right filter for your water source, and clean it regularly.
- Check the filter screen or cartridge at least once a month during active use
- Clean filters more often if water contains visible sediment
- Replace damaged or worn filter components promptly
Flush the system regularly
Flushing drip lines helps remove accumulated dirt and mineral buildup. Open the end caps or flush valves and run water through the system until it flows clear. This is especially important at the start and end of the growing season.
Tip: Flushing the lines after major repairs or after a long period of inactivity can help prevent immediate clogging.
Use a pressure regulator
Drip systems are designed to operate at low pressure. Excess pressure can stress fittings, increase leaks, and force debris into vulnerable areas. A pressure regulator keeps flow stable and protects the entire system.
Protect lines from sunlight and heat
Whenever possible, keep drip tubing covered with mulch or placed in shaded areas. This reduces algae growth and helps prevent tubing from becoming brittle due to prolonged sun exposure.
Schedule seasonal inspections
Walk the system while it is running and look for weak spots, dry areas, and inconsistent flow. Catching a partial clog early is much easier than repairing a fully blocked line later.
Common Causes of Drip Line Leaks
Leaks can waste water quickly and reduce pressure throughout the system. They often happen at connections, damaged tubing, or worn components.
1. Loose fittings
Fittings can loosen over time due to temperature changes, water pressure, or accidental movement during garden work.
2. Cracked or punctured tubing
Tools, pets, garden stakes, UV damage, and physical wear can all damage tubing. Even a small puncture can lead to a noticeable leak.
3. Worn seals and connectors
Rubber seals, gaskets, and connectors deteriorate with age. If fittings no longer hold securely, water may seep out around the joint.
4. Excess pressure
High pressure can force fittings apart or cause tubing to split. If leaks appear in multiple places, pressure may be part of the problem.
How to Prevent Leaks in Drip Lines
Leak prevention starts with correct installation and continues with regular monitoring. A few practical habits can save time, water, and frustration.
Inspect all connections
Check emitters, couplers, end caps, tees, and elbows for signs of looseness or moisture. Tighten or replace any fitting that shows wear.
Use quality parts
Cheaper components may fail sooner, especially in systems exposed to sun, frequent use, or temperature shifts. Durable tubing and fittings are worth the investment for long-term reliability.
Avoid overstretching tubing
Drip lines should lie naturally without tension. If tubing is stretched too tightly, it can pull apart at connections or weaken along bends.
Replace damaged sections quickly
If you spot a crack, cut, or persistent leak, remove the damaged section and splice in a new piece. Temporary fixes may help in the short term, but full replacement is usually the better solution.
Keep tubing protected
Use mulch, clips, or proper routing to reduce accidental damage. Avoid placing tubing where it will be stepped on, dragged, or repeatedly moved.
Best Practices for Long-Term Drip Line Care
Routine care is the easiest way to keep your irrigation system dependable. The following best practices support both clog prevention and leak control.
- Run the system weekly during the growing season to spot problems early.
- Check pressure and flow to make sure the system is operating within normal limits.
- Clean filters regularly and replace worn parts before they fail.
- Flush lines seasonally and after repairs.
- Inspect tubing visually for cracks, flattened areas, or disconnections.
- Winterize the system in cold climates to prevent freeze damage.
Signs Your Drip Lines Need Attention
Some problems are obvious, but others show up as subtle changes in plant health or water delivery. Watch for these warning signs:
- Patches of plants are wilting while others look normal
- Water is pooling near fittings or emitter points
- Some emitters are dripping less than others
- The system sounds uneven or appears to lose pressure
- Visible cracks, bulges, or discolored tubing are present
If you notice any of these issues, inspect the line immediately. Small problems often get worse quickly when left untreated.
When to Replace Drip Lines
Even well-maintained drip lines have a lifespan. If tubing becomes brittle, heavily cracked, or repeatedly clogged, replacement may be more cost-effective than ongoing repairs. Frequent leaks, poor water distribution, and repeated emitter failures are all signs that parts of the system may need an upgrade.
Replacing worn sections before they fail completely helps keep your irrigation system efficient and protects your landscape from water stress.
Conclusion: Stay Ahead of Clogs and Leaks
Maintaining drip lines does not have to be complicated. With clean filters, regular flushing, careful inspection, and prompt repairs, you can prevent most clogging and leak problems before they start. A little attention goes a long way toward keeping your drip irrigation system efficient, dependable, and water-smart.
If you want healthier plants and fewer irrigation headaches, make drip line maintenance part of your routine. Check your system regularly, fix small issues early, and keep water flowing exactly where it should.