Few garden projects are as rewarding as growing pumpkins from seed to harvest. With the right timing, soil preparation, and care, you can go from a handful of seeds to large, healthy pumpkins ready for pies, carving, and fall displays. Whether you are growing classic orange pumpkins or smaller specialty varieties, successful pumpkin cultivation starts with understanding what these vines need at every stage.
Choosing the Right Pumpkin Variety
Before planting, decide what kind of pumpkin you want to grow. Different varieties mature at different rates and have different uses. Some are best for carving, while others are ideal for cooking or decorating.
- Jack O'Lantern types: Medium to large pumpkins with classic shapes for carving.
- Pie pumpkins: Smaller, sweeter varieties grown for baking and cooking.
- Mini pumpkins: Compact plants that produce decorative fruit.
- Giant pumpkins: Heavy feeders grown for size and competition.
Check the seed packet for days to maturity. In cooler climates, choose varieties that ripen in 90 to 100 days. If you have a longer growing season, you can experiment with larger pumpkins that need more time.
When to Plant Pumpkin Seeds
Timing is critical in pumpkin cultivation. Pumpkins are warm-season crops and do not tolerate frost. The best time to plant pumpkin seeds is after the danger of frost has passed and the soil has warmed to at least 65°F.
If you want a head start, you can start seeds indoors in biodegradable pots 2 to 4 weeks before transplanting. However, pumpkins do not love root disturbance, so many gardeners prefer to sow seeds directly into the garden.
Tip: Plant pumpkin seeds in late spring when nights stay consistently warm. Cold soil can slow germination and weaken seedlings.
Preparing the Soil for Healthy Growth
Pumpkins are heavy feeders, which means rich, well-draining soil is essential. Choose a planting site with full sun, ideally receiving at least 6 to 8 hours of direct sunlight each day. The soil should be loose, fertile, and slightly acidic to neutral, with a pH between 6.0 and 6.8.
To prepare the bed, work in compost or aged manure before planting. This improves soil structure, boosts nutrients, and helps the soil retain moisture. If your soil is compacted or poor, consider planting on mounds or raised rows for better drainage.
Soil Preparation Checklist
- Remove weeds and debris
- Loosen the soil to a depth of at least 12 inches
- Mix in compost or organic matter
- Ensure good drainage to prevent root rot
- Test soil pH if possible
How to Plant Pumpkin Seeds
Once the soil is warm and ready, plant pumpkin seeds about 1 inch deep. Space seeds according to the variety you are growing, since pumpkin vines need room to spread. Most standard varieties need 3 to 6 feet between hills, while giant varieties may require even more space.
Plant 2 to 4 seeds per hill and thin to the strongest 1 or 2 seedlings once they emerge. Water gently after planting to keep the soil evenly moist without soaking it.
- Create small mounds or hills in the planting area.
- Place seeds 1 inch deep in each hill.
- Cover lightly with soil and water well.
- Keep the area moist until germination, usually 7 to 10 days.
- Thin seedlings once true leaves appear.
Caring for Pumpkin Plants
After the seedlings emerge, consistent care helps pumpkins grow vigorously. Water deeply once or twice a week, especially during dry periods. Aim to keep the soil evenly moist, but avoid wetting the leaves too often, as this can encourage disease.
Mulching around the plants can help conserve moisture, suppress weeds, and keep developing fruit cleaner. Organic mulch such as straw or shredded leaves works well.
Key Care Practices
- Water deeply: Focus on the root zone rather than the foliage.
- Feed regularly: Use a balanced fertilizer early, then switch to a fertilizer higher in phosphorus and potassium when vines start flowering.
- Control weeds: Young pumpkin plants compete poorly with weeds.
- Train vines if needed: Guide them away from walkways and into open areas.
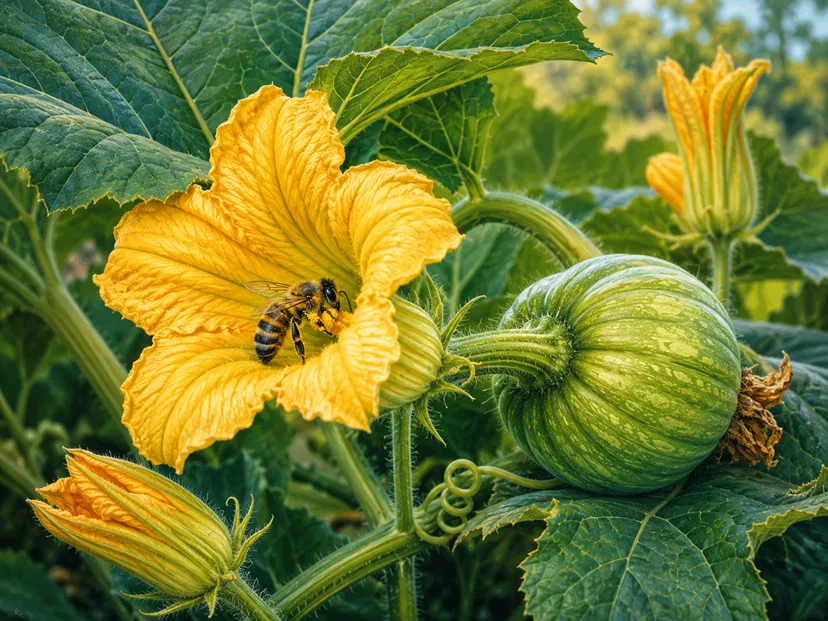
As the vines spread, you may notice male flowers appearing first, followed by female flowers with small fruit at their base. Bees and other pollinators play a major role in fruit formation, so avoid using harsh pesticides that could harm them.
Pollination and Fruit Development
Pollination is one of the most important steps in pumpkin cultivation. Without it, flowers may bloom but fruit will not develop properly. If pollinator activity is low, you can hand-pollinate using a small brush or by transferring pollen from a male flower to a female flower early in the morning.
After successful pollination, tiny pumpkins begin to grow rapidly. This is when consistent water and nutrients matter most. Stress from drought or poor soil can lead to small fruit, blossom end rot, or premature drop.
Important: Avoid overloading one plant with too many pumpkins. For larger fruit, leave only 1 to 3 pumpkins per vine, depending on variety and growing goals.
Common Pumpkin Pests and Problems
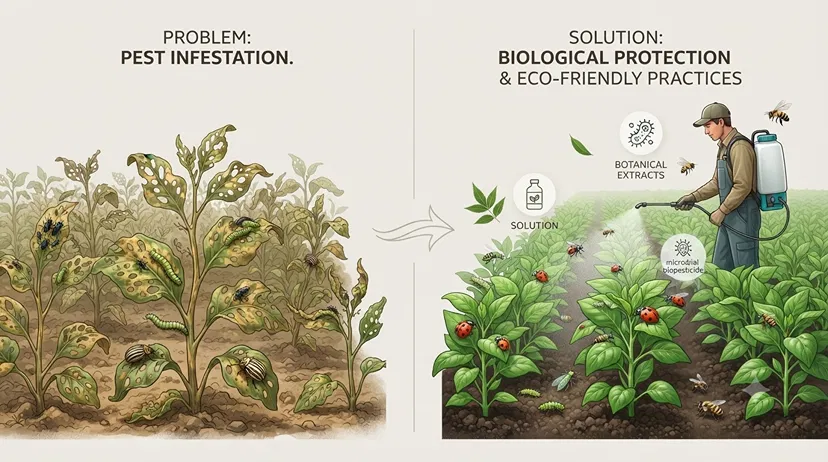
Like many garden crops, pumpkins can face pest and disease issues. Catching problems early makes management much easier.
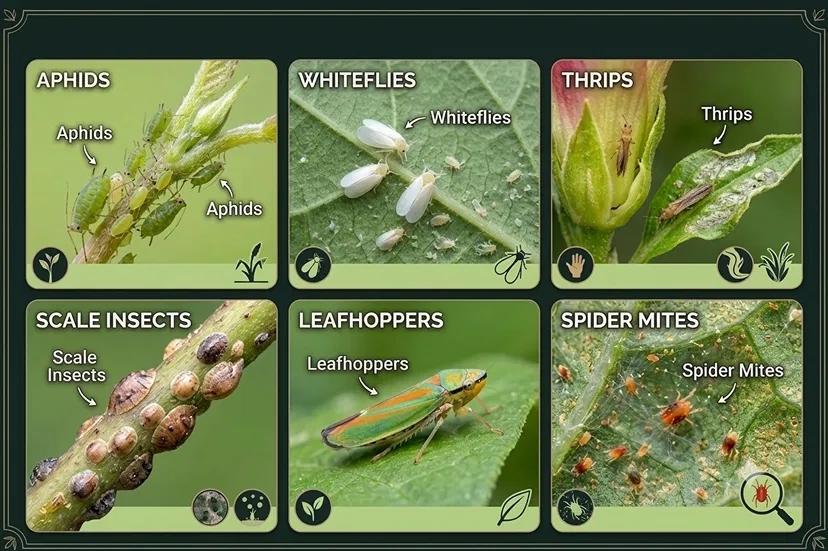
- Squash bugs: They feed on leaves and stems, weakening the plant.
- Cucumber beetles: These pests can damage foliage and spread disease.
- Powdery mildew: A common fungal disease that appears as white patches on leaves.
- Root rot: Usually caused by poor drainage or overwatering.
To reduce risk, rotate crops each year, keep the garden clean, and water at the base of the plant. Good air circulation also helps limit fungal disease. If powdery mildew appears late in the season, it may be manageable without affecting the harvest too much.
When and How to Harvest Pumpkins
Harvest time is the reward for all your care. Pumpkins are ready to pick when they reach full color, develop a hard rind, and the vine begins to dry out. Another clue is the stem: it should be firm and corky rather than green and soft.
Use a sharp knife or pruning shears to cut pumpkins from the vine, leaving 2 to 4 inches of stem attached. Avoid carrying pumpkins by the stem alone, since this can cause breakage and shorten storage life.
Harvest Signs to Watch For
- Deep, even color
- Hard skin that resists puncture
- Drying vine and leaves
- Stem turning woody
If frost threatens before pumpkins are fully mature, cover the plants at night or harvest slightly early and let them finish curing indoors. After harvest, let pumpkins cure in a warm, dry place for about 10 days to toughen the skin and improve storage.
Storing Your Pumpkin Harvest
Proper storage helps extend the life of your pumpkins. Keep cured pumpkins in a cool, dry location with good air circulation. Avoid stacking them or placing them on damp surfaces.
Most mature pumpkins store well for several weeks, and some varieties last longer under ideal conditions. Check them regularly for soft spots or mold, and use any damaged pumpkins first.
Final Thoughts on Pumpkin Cultivation
Growing pumpkins from seed to harvest is a satisfying process that combines patience, timing, and good garden care. When you choose the right variety, plant in warm soil, feed and water consistently, and protect your plants from pests and disease, you give your pumpkins the best chance to thrive.
Whether your goal is a perfect carving pumpkin, a delicious pie ingredient, or a giant showpiece, the basics of pumpkin cultivation remain the same. Start with healthy seeds, nurture the vines, and enjoy the journey from tiny sprout to autumn harvest. If you are ready for a productive fall garden, there is no better time to plant pumpkins and watch them grow.