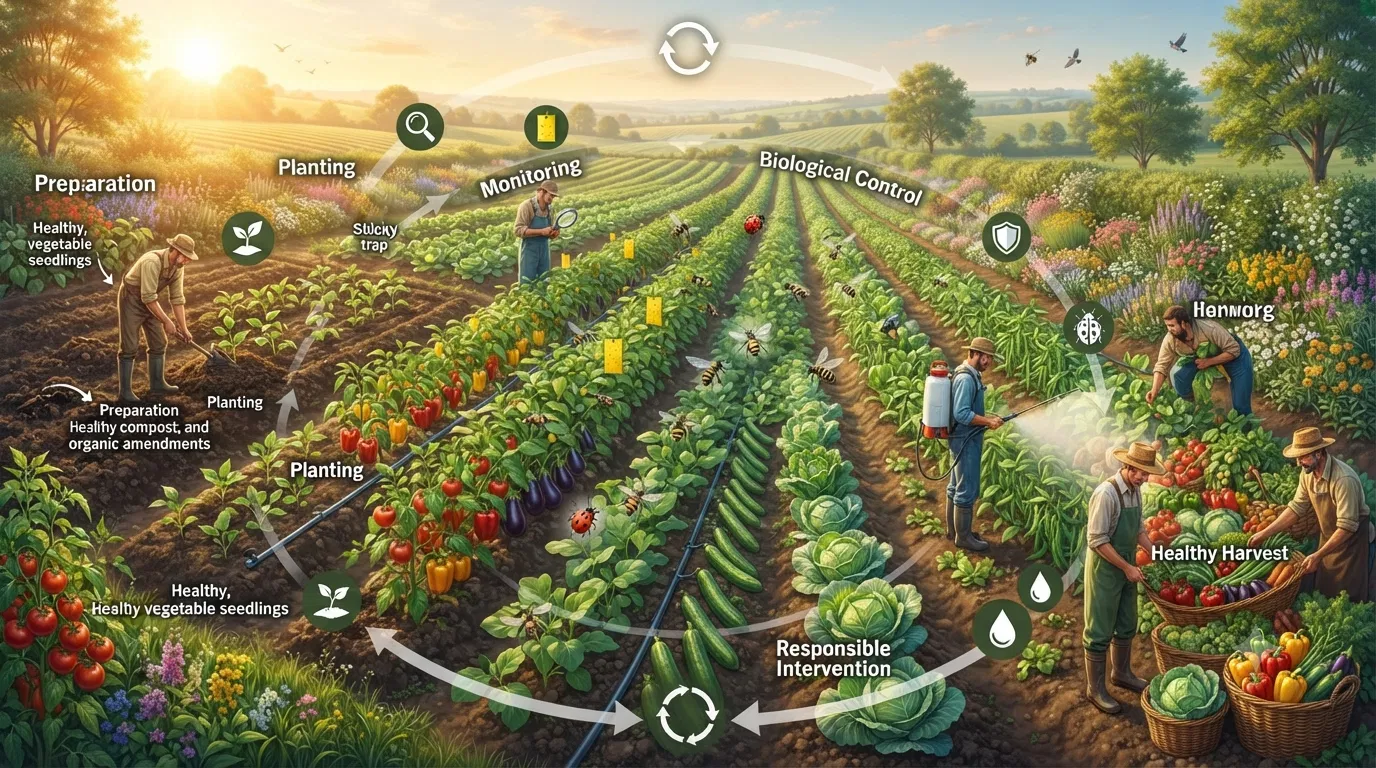
Successful vegetable production depends on more than planting at the right time and watering regularly. To protect crop quality and reduce losses, growers need a smart, proactive approach to pest management. That is where an IPM calendar for vegetable crops becomes essential. By planning pest control activities around crop stages, weather patterns, and pest life cycles, you can prevent problems before they spread and make better use of time, labor, and inputs.
An effective Integrated Pest Management calendar helps growers stay ahead of insects, diseases, weeds, and other threats without relying solely on sprays. It creates a structured plan that combines scouting, monitoring, cultural practices, biological controls, and targeted treatments. Whether you manage a small market garden or a large commercial farm, building a seasonal IPM calendar can improve yields and support more sustainable vegetable production.
What Is an IPM Calendar?
An IPM calendar is a crop-specific schedule that outlines key pest management tasks throughout the growing season. Instead of reacting after damage appears, you plan monitoring and control actions in advance.
A strong vegetable IPM calendar typically includes:
- Crop planting and growth stages
- Likely pest and disease pressure by season
- Scouting intervals and monitoring methods
- Thresholds for action
- Cultural and preventive practices
- Biological control opportunities
- Targeted pesticide or organic spray timing, when needed
The goal is to make pest management more precise, timely, and cost-effective.
Why an IPM Calendar Matters for Vegetable Crops
Vegetable crops are highly vulnerable because many grow quickly, have tender foliage, and are harvested for direct consumption. Pest damage can reduce yield, lower marketability, and shorten storage life. A calendar-based approach helps you identify risks early and act before infestations or infections get out of control.
Using an IPM calendar can help you:
- Reduce unnecessary pesticide applications
- Improve pest scouting consistency
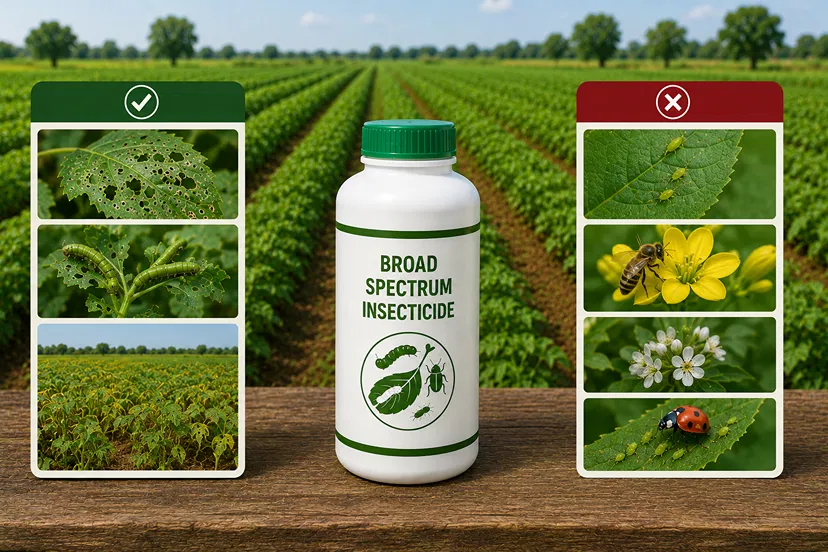
- Protect beneficial insects and pollinators
- Lower production costs over time
- Improve crop quality and market value
- Support resistance management by rotating control methods
In other words, an IPM calendar helps you manage the farm with more confidence and fewer surprises.
Step 1: List the Vegetable Crops You Grow
Start by building the calendar around each vegetable crop on your farm. Different crops face different pests, diseases, and vulnerable stages. For example, tomatoes, peppers, lettuce, cucumbers, brassicas, onions, and beans all have unique protection needs.
Create a simple crop list and note:
- Planting dates
- Expected harvest window
- Crop family
- Main pest concerns
- Main disease concerns
This crop inventory becomes the foundation of your IPM schedule.
Step 2: Identify Key Pests and Diseases by Crop
Next, match each crop with its major pest threats. Focus on the most common and damaging problems in your area, not every possible pest. Local extension guides, scout reports, and historical farm records are valuable tools for this step.
Examples of common vegetable crop threats
- Tomatoes: aphids, whiteflies, hornworms, early blight, late blight
- Brassicas: cabbage worms, flea beetles, aphids, clubroot
- Cucurbits: cucumber beetles, squash bugs, powdery mildew
- Lettuce: aphids, cutworms, downy mildew, sclerotinia
- Onions: thrips, onion maggot, botrytis leaf blight
Once you know what to expect, you can time your scouting and control measures more accurately.
Step 3: Map Pest Pressure Across the Season
Pest pressure changes with weather, crop stage, and planting date. An effective vegetable IPM calendar should organize pest risks month by month or by crop stage.
For example:
- Pre-plant: soil testing, weed control, crop rotation, bed preparation
- Transplanting: inspect seedlings, use row covers, monitor cutworms
- Early growth: scout for flea beetles, aphids, and damping-off
- Midseason: intensify scouting for foliar diseases and fruit pests
- Late season: watch for rot, borers, and quality issues before harvest
By linking pest risks to crop development, your calendar becomes a useful decision-making tool rather than a generic checklist.
Step 4: Schedule Regular Scouting
Scouting is the heart of any IPM program. Without regular field checks, even the best calendar will fail. Build scouting into your calendar at fixed intervals based on crop value and pest risk.
A practical scouting schedule may include:
- Twice weekly for high-value or high-risk crops
- Weekly for lower-risk crops
- After rain or humidity spikes for disease-prone crops
- After transplanting when seedlings are most vulnerable
During each scouting visit, record pest presence, damage level, beneficial insects, and weather conditions. This information helps you spot trends and decide when action is justified.
Step 5: Build in Preventive Cultural Practices
The best pest management decisions often happen before pests arrive. Your IPM calendar should include preventive practices that make crops less attractive or less vulnerable to pests and diseases.
Examples include:
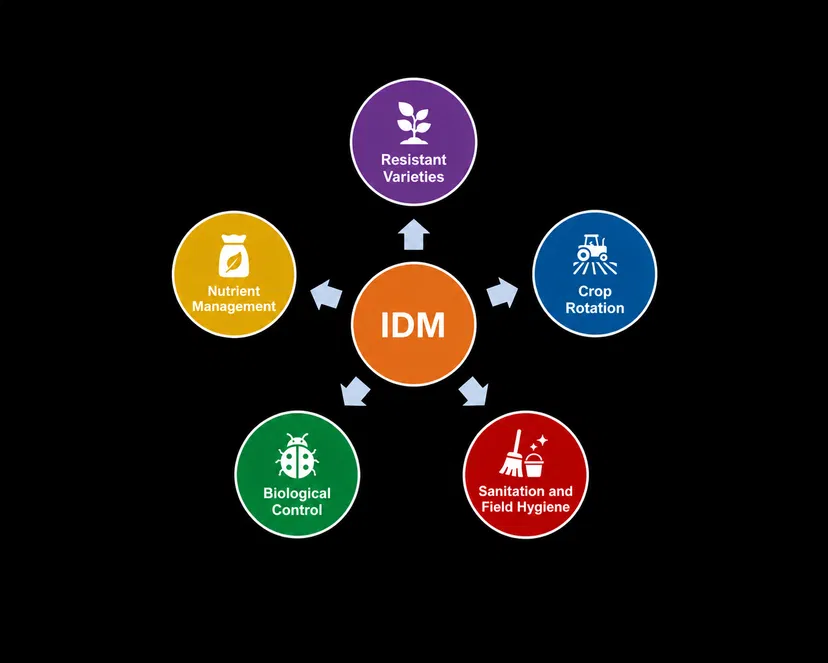
- Crop rotation to break pest and disease cycles
- Sanitation to remove crop residue and diseased plants
- Weed control to reduce alternate hosts and insect habitat
- Proper spacing for airflow and reduced disease pressure
- Mulching to suppress weeds and reduce soil splash
- Drip irrigation to keep foliage dry and limit disease spread
- Resistant varieties when available
These practices should be scheduled and tracked just like spraying or scouting.
Step 6: Include Biological and Biorational Controls
Modern IPM calendars should make room for beneficial insects and lower-risk products. Biological control works best when timed correctly, so scheduling is critical.
Useful additions may include:
- Releasing beneficial insects where appropriate
- Using microbial products against caterpillars or soil pests
- Applying oils or soaps for soft-bodied insects
- Supporting pollinators and predators with flowering borders
These tools often work best early in pest development, so mark the timing clearly in your calendar.
Step 7: Set Action Thresholds
An IPM calendar should not trigger treatments automatically on a fixed date. Instead, it should connect scouting results to action thresholds. A threshold is the pest level at which control becomes economically or practically necessary.
IPM works best when treatment decisions are based on field conditions, not habit.
Thresholds vary by crop, pest, market standards, and weather. For example, a few aphids may not justify treatment, but rapidly increasing populations on young plants may require immediate action. The key is to define these thresholds in advance and include them in your planning notes.
Step 8: Plan Pesticide Use Carefully
Even in a strong IPM program, pesticide use may occasionally be necessary. Your calendar should specify when and how products may be used to minimize risk and maximize effectiveness.
Include the following details:
- Target pest and crop
- Approved product options
- Application timing
- Re-entry interval and preharvest interval
- Resistance rotation groups
- Pollinator safety considerations
Always favor targeted applications based on scouting and thresholds. This improves control and reduces the chance of resistance.
Step 9: Review Weather and Disease Forecasts
Weather drives many pest and disease outbreaks in vegetable crops. A good IPM calendar should include regular review of weather forecasts, degree-day models, and disease forecasting tools when available.
Use weather-based information to anticipate:
- Fungal disease outbreaks after rain or long leaf wetness periods
- Insect emergence tied to temperature accumulation
- Periods of rapid pest reproduction in warm conditions
- Stress events that make crops more vulnerable
Adding weather alerts to your calendar gives you a major advantage in timing scouting and treatment decisions.
Step 10: Track Results and Update the Calendar
An IPM calendar should be a living document, not a one-time worksheet. After each season, review what worked and what did not. Record pest outbreaks, treatment success, harvest impacts, and any missed timing windows.
Ask these questions at the end of the season:
- Which pests caused the most damage?
- Were scouting intervals frequent enough?
- Did preventive practices reduce pressure?
- Were treatments timed effectively?
- What should be adjusted next year?
This ongoing improvement is what makes an IPM calendar so powerful over time.
Simple Monthly Structure for a Vegetable IPM Calendar
If you want a practical starting point, organize your calendar by month and include the major tasks for each crop group.
- Winter: plan rotation, order resistant seed, review records, maintain equipment
- Spring: prepare beds, manage weeds, start scouting early pests, use row covers
- Summer: monitor insects, diseases, irrigation, and harvest-quality issues
- Fall: watch late-season diseases, remove residues, plant cover crops, assess results
This structure is flexible and can be adapted to your local climate and crop mix.
Conclusion: Make IPM Planning Part of Every Crop Decision
Building an IPM calendar for vegetable crops is one of the smartest ways to improve pest management, protect yields, and reduce unnecessary inputs. By combining scouting, prevention, biological control, and targeted treatments, you create a system that works with the crop cycle instead of against it.
If you want healthier vegetables and more predictable results, start building your calendar now. List your crops, map seasonal pest risks, schedule scouting, and update your plan each year. A well-designed IPM calendar turns pest management into a proactive strategy that supports both profitability and sustainability.
"