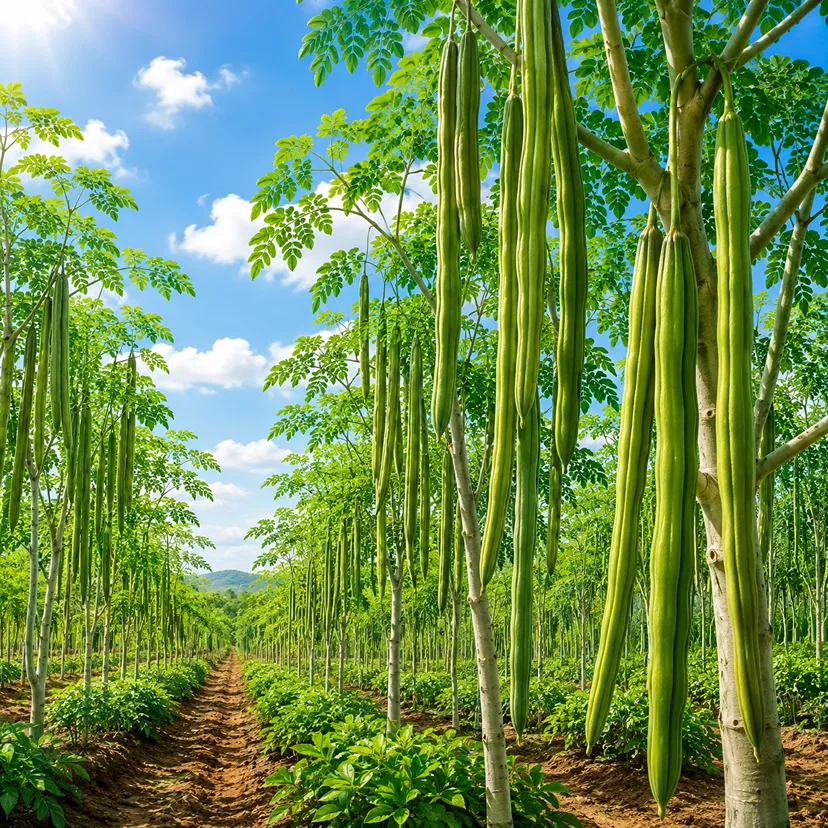
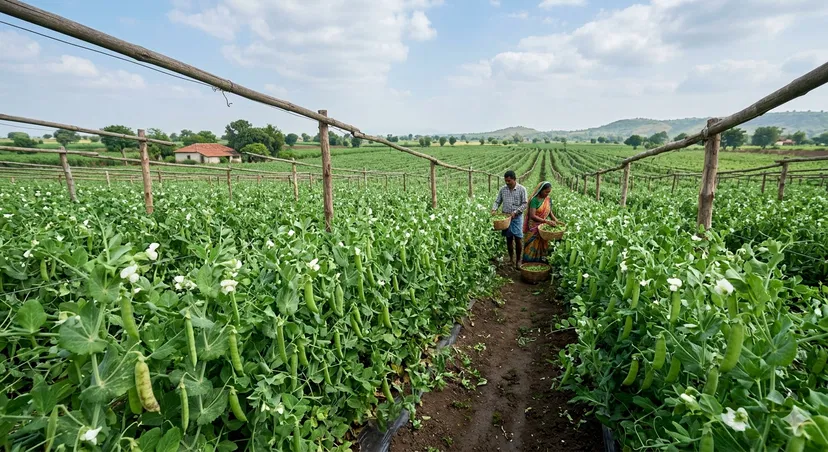
If you want a fast-growing, highly nutritious tree that rewards you with edible pods, leaves, and long-term productivity, drumstick (moringa) cultivation from seeds is one of the smartest choices you can make. Moringa is hardy, drought-tolerant, and surprisingly easy to grow when you start with healthy seeds and the right planting method.
Whether you are growing drumstick for home use, market value, or a small farm, the seed-to-harvest process is simple when you understand the basics. With proper soil, sunlight, watering, and pruning, you can establish a strong moringa tree that grows quickly and produces abundantly.
Why Grow Drumstick from Seeds?
Growing moringa from seeds is the most natural and cost-effective way to establish healthy plants. Seed-grown trees often develop strong taproots, adapt well to local conditions, and can live for many years with proper care.
- Low cost: Seeds are affordable and easy to source.
- Fast growth: Moringa can grow rapidly in warm climates.
- High yield: You can harvest leaves, pods, and seeds.
- Hardy plant: It tolerates heat and dry conditions well.
- Multipurpose crop: Useful for food, nutrition, and small-scale income.
Best Time to Plant Drumstick Seeds
The best time to plant drumstick seeds is at the beginning of the warm season, when temperatures are consistently above 25°C. Moringa is a tropical and subtropical plant that thrives in full sun and does not handle frost well.
If you live in a cooler region, start seeds in pots or nursery trays indoors and transplant them once the weather becomes warm enough. This gives the seedlings a better chance to establish before facing outdoor conditions.
Choosing Quality Seeds
Successful drumstick cultivation from seeds begins with high-quality seed selection. Fresh, mature seeds germinate better and produce stronger seedlings.
What to Look For
- Fully matured, dry seeds
- No mold, damage, or insect holes
- Seeds from healthy, productive plants
- Good storage conditions before planting
Fresh seeds are best because germination rates decline over time. If possible, use seeds collected within the last 6 to 12 months.
How to Prepare Drumstick Seeds for Planting
Drumstick seeds do not require complicated treatment, but a little preparation improves germination. Soaking the seeds in clean water for 12 to 24 hours before planting helps soften the seed coat and encourages faster sprouting.
Simple soaking can make a big difference in germination speed and seedling uniformity.
After soaking, discard any seeds that float for a long time or appear damaged. Plant the rest immediately for the best results.
Ideal Soil for Moringa Seeds
Moringa grows best in well-drained soil. It does not like waterlogged conditions, so drainage is more important than heavy feeding at the start.
Best Soil Conditions
- Loose, sandy loam or light garden soil
- Neutral to slightly acidic pH
- Good drainage
- Moderate organic matter
If your soil is heavy clay, mix in sand, compost, or raised beds to improve drainage. Avoid compacted ground, which can stunt root growth and increase the risk of rot.
Step-by-Step Guide to Planting Drumstick Seeds
Planting moringa seeds is straightforward. You can sow them directly in the ground or start them in containers. For home gardens, both methods work well.
Direct Sowing Method
- Choose a sunny site with well-drained soil.
- Dig holes about 1 to 2 inches deep.
- Place 1 to 2 seeds in each hole.
- Cover lightly with soil and water gently.
- Keep the soil moist, not soggy, until germination.
Container or Nursery Method
- Use pots, polybags, or nursery trays with drainage holes.
- Fill with a light potting mix.
- Plant one seed per container at about 1 inch depth.
- Water lightly and place in a warm, sunny spot.
- Transplant seedlings when they are 6 to 12 inches tall.
Seeds usually germinate within 7 to 14 days under warm conditions. In cooler weather, germination may take a little longer.
Sunlight and Water Requirements
Moringa loves sunlight. For strong growth, give your drumstick plants at least 6 to 8 hours of direct sun every day. Without enough light, the plants become weak, leggy, and less productive.
Watering should be regular during the seedling stage, but once the plant is established, reduce watering. Overwatering is one of the most common mistakes in moringa cultivation.
Watering Tips
- Water lightly after planting.
- Keep the soil slightly moist until seedlings emerge.
- Water deeply but infrequently after establishment.
- Allow the topsoil to dry between waterings.
Established moringa trees are drought-tolerant, but young seedlings need more consistent moisture to develop properly.
Fertilization and Nutrient Management
Drumstick plants do not need heavy feeding, but they respond well to organic matter. Too much nitrogen can lead to leafy growth with fewer pods, so balance is important.
Before planting, mix compost or well-rotted manure into the soil. During growth, you can top-dress the base with organic compost every few months.
Good Nutrient Practices
- Use compost for slow-release nutrition
- Avoid excess chemical fertilizers
- Mulch lightly to conserve moisture
- Do not let mulch touch the stem directly
Pruning for Better Growth and Yield
Pruning is essential in drumstick (moringa) cultivation from seeds if you want a bushier plant and easier harvesting. Without pruning, moringa can grow tall and thin, which makes leaf collection and pod production harder.
Once the seedling reaches about 2 to 3 feet tall, pinch or cut the top shoot to encourage side branches. This creates a fuller plant with more harvestable leaves and flowers.
Benefits of Pruning
- Encourages branching
- Improves airflow
- Makes harvesting easier
- Supports higher leaf yield
- Helps manage plant height
Common Pests and Problems
Moringa is generally resilient, but young plants can still face pest pressure or poor growing conditions. Watch for aphids, caterpillars, and root rot caused by excessive moisture.
How to Prevent Problems
- Use well-drained soil
- Avoid overwatering
- Inspect plants regularly
- Remove affected leaves when necessary
- Maintain proper spacing for airflow
If pests appear, start with simple controls such as hand removal, neem-based sprays, or organic pest management methods. Healthy plants usually recover quickly when stress is minimized.
When to Harvest Drumstick Leaves and Pods
One of the biggest advantages of moringa is its quick turnaround. Leaves can often be harvested within a few months after planting, depending on climate and growing conditions.
Harvest leaves carefully by snipping young branches or picking leaf clusters. For pods, wait until they are long, tender, and still green. Regular harvesting encourages the plant to keep producing.
Harvesting Tips
- Harvest leaves in moderation to avoid stressing young plants
- Pick pods while they are tender for the best flavor
- Use clean tools to avoid damaging branches
- Harvest often to encourage new growth
Final Thoughts
Drumstick cultivation from seeds is simple, rewarding, and ideal for growers who want a productive plant with multiple uses. With the right seeds, warm weather, good drainage, and light pruning, moringa can grow fast and thrive with minimal care.
If you are looking for a resilient crop that supports both home nutrition and practical gardening success, start with seeds and give your moringa the sunlight and space it needs. The results can be impressive, and once established, this tree can keep giving back for years.
Start your drumstick growing journey today and enjoy the benefits of one of nature's most useful plants.