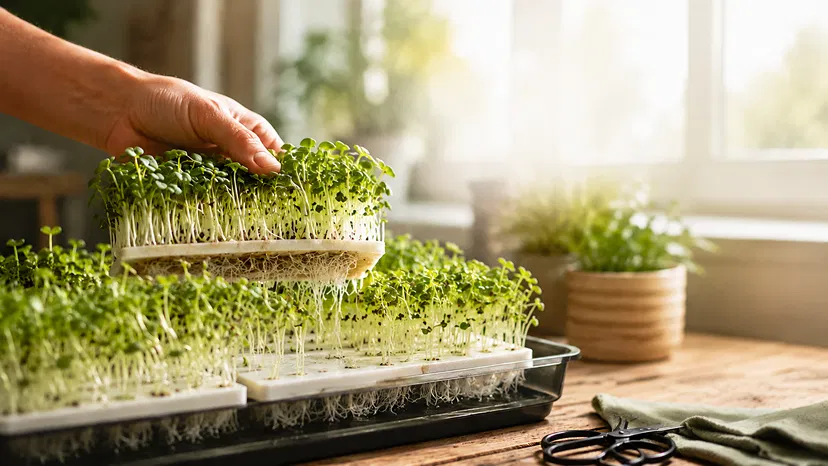
Fresh, flavorful, and surprisingly easy to grow, microgreens at home are one of the simplest ways to bring a nutritious harvest into your kitchen. You do not need a garden, expensive tools, or even much space. In fact, a sunny windowsill, a few basic supplies, and a little patience are enough to start growing your own microgreens in just days.
Whether you want to save money, eat healthier, or enjoy the satisfaction of harvesting something you grew yourself, this beginner-friendly guide will walk you through every step. By the end, you will know exactly how to grow microgreens at home from seed to harvest.
What Are Microgreens?
Microgreens are young vegetable, herb, or leafy green plants harvested shortly after germination, usually when the first true leaves appear. They are smaller than baby greens but larger than sprouts, and they are known for their concentrated flavor and nutrient density.
Common microgreens include:
Because they grow quickly, microgreens are ideal for beginners who want fast results and a rewarding indoor gardening project.
Why Grow Microgreens at Home?
There are plenty of reasons to start growing microgreens indoors. They are compact, affordable, and simple to care for. Best of all, you can harvest them in as little as 7 to 21 days, depending on the variety.
Microgreens at home offer a quick way to enjoy fresh greens year-round without needing a backyard or special equipment.
Here are some top benefits:
- Fast growth: You can see results in a matter of days.
- Space-saving: Perfect for apartments, kitchens, and small homes.
- Cost-effective: A small seed investment can produce multiple harvests.
- Fresh flavor: Microgreens add a crisp, intense taste to meals.
- Nutritious: They are often packed with vitamins and antioxidants.
What You Need to Grow Microgreens
Before you begin, gather a few simple supplies. You do not need anything fancy to get started, and many of these items may already be in your home.
Basic Supplies
- Microgreen seeds: Choose beginner-friendly varieties like radish, broccoli, or sunflower.
- Growing tray: A shallow tray or container with drainage holes works well.
- Potting mix or grow mat: Use a fine, lightweight soil mix or a soilless growing medium.
- Spray bottle: For gentle watering.
- Light source: A bright windowsill or grow light.
- Second tray or cover: Helpful for the blackout period during germination.
If you are a complete beginner, using a simple potting mix is usually the easiest method. It holds moisture well and helps seeds establish quickly.
Step 1: Choose the Right Seeds
Not all seeds are ideal for microgreens. The best choices are seeds specifically labeled for microgreens or sprouts, as they are usually untreated and suited for indoor growing. Start with easy, fast-growing options to build confidence.
Great beginner varieties include:
- Radish: Spicy, fast-growing, and ready in about a week.
- Broccoli: Mild flavor and highly popular.
- Sunflower: Crisp, nutty, and filling.
- Pea shoots: Sweet and tender with excellent texture.
For your first batch, choose one variety rather than mixing seeds. That makes it easier to monitor growth and harvesting time.
Step 2: Prepare the Growing Tray
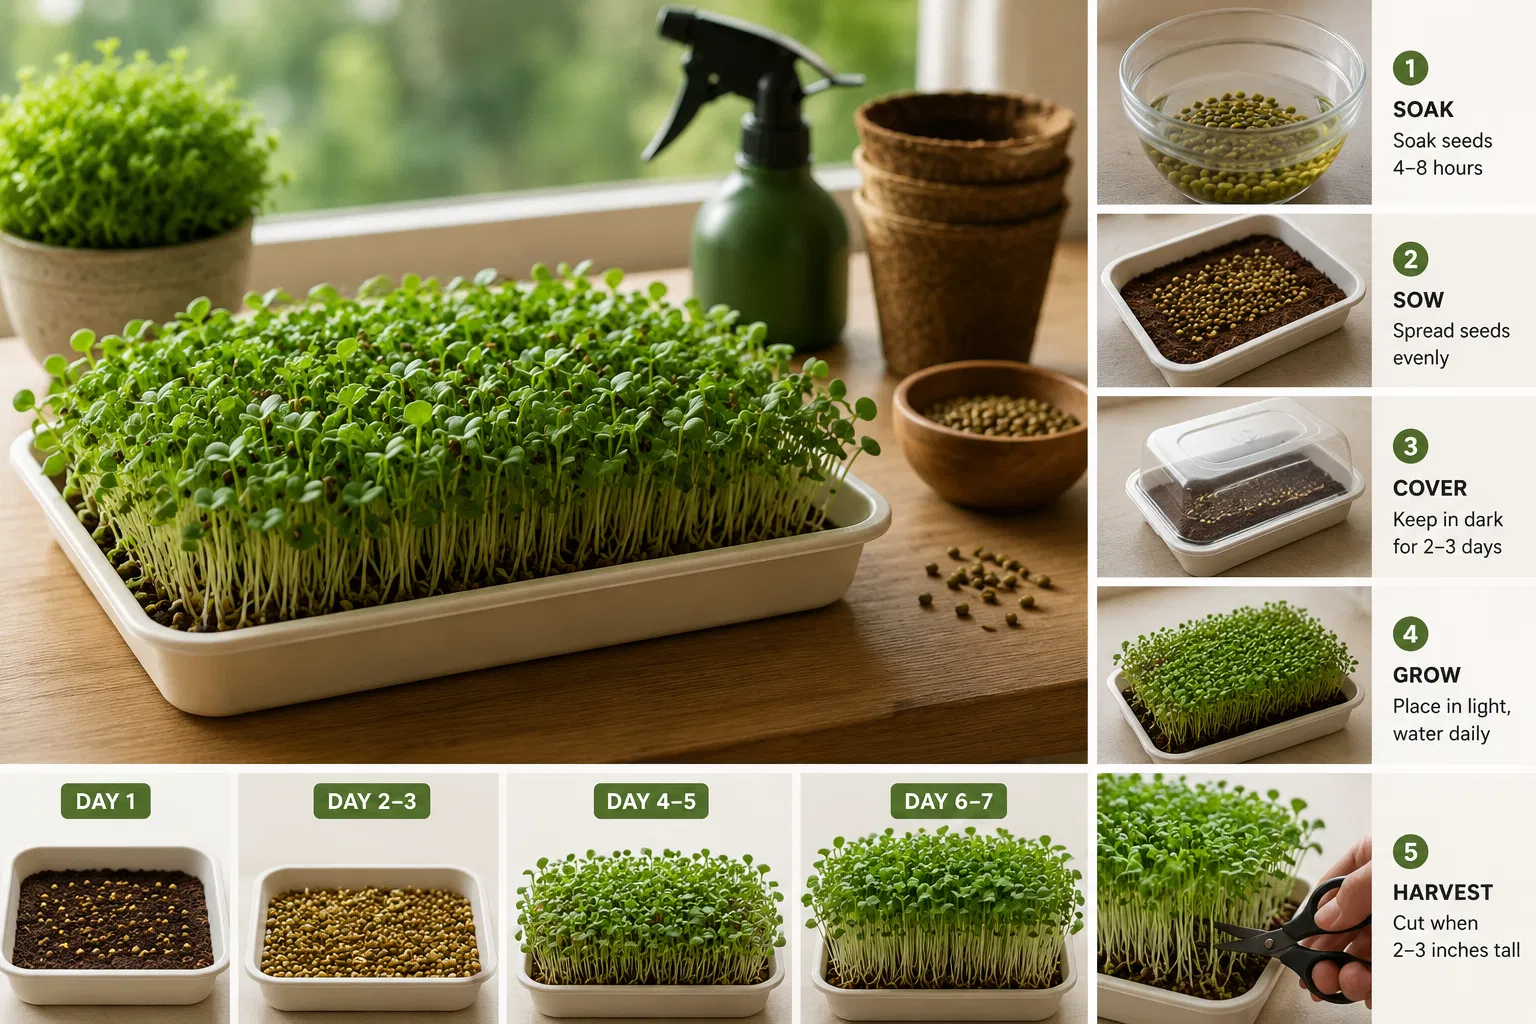
Fill your tray with about 1 to 2 inches of moist potting mix. Spread it evenly and gently press it down, but do not pack it too tightly. The surface should be level so the seeds can germinate evenly.
If you are using a grow mat, place it in the tray according to the product instructions and moisten it thoroughly before sowing seeds.
Make sure your tray has proper airflow and drainage if needed. Good moisture control is key to healthy microgreens.
Step 3: Sow the Seeds
Now comes the fun part. Sprinkle the seeds evenly across the surface of the soil or grow mat. You want a dense layer, but avoid overlapping too heavily, which can lead to crowding and mold.
After sowing, mist the seeds gently with water. Some growers lightly press the seeds into the surface to ensure good contact with the growing medium.
For larger seeds like sunflower and pea shoots, you may want to soak them first for a few hours before planting. This can help speed up germination.
Step 4: Cover and Let Them Germinate
Microgreens typically need a blackout period to germinate properly. Cover the tray with another tray, a lid, or a lightweight board to block out light. This creates the dark, humid environment the seeds need to sprout.
Check daily to make sure the medium stays moist. If it begins to dry out, mist it lightly. Avoid overwatering, as too much moisture can encourage mold or rot.
Depending on the seed type, germination may take 2 to 5 days. Once the seeds sprout and begin pushing up, remove the cover and move them into bright light.
Step 5: Provide Light
Once the seedlings emerge, they need plenty of light to grow strong and vibrant. Place the tray near a sunny south-facing window or under a grow light for 12 to 16 hours a day.
If microgreens do not get enough light, they may become leggy, pale, or weak. A grow light is often the most reliable option indoors, especially if natural light is limited.
Keep the tray rotating every day if the light comes from one direction. This helps the greens grow evenly.
Step 6: Water Carefully
Water is one of the most important parts of growing microgreens at home. The goal is to keep the growing medium moist, not soggy. A spray bottle works well in the early stages, while bottom watering may be better once roots are established.
Helpful watering tips:
- Check moisture daily.
- Water in the morning when possible.
- Avoid soaking the leaves.
- Maintain good airflow around the tray.
If you notice an unpleasant smell, mold, or slimy stems, reduce watering and increase ventilation.
Step 7: Harvest at the Right Time
Most microgreens are ready to harvest when they are 2 to 4 inches tall and have developed their first set of true leaves. This usually happens within 7 to 21 days, depending on the variety.
Use clean scissors or a sharp knife to cut the stems just above the soil line. Harvest in the morning for the freshest taste and best texture.