Biofertilizers contain living microorganisms that improve nutrient availability, root development, and soil biological activity. Their success depends on correct handling and placement because excessive heat, direct sunlight, dry soil, or incompatible chemicals can reduce microbial survival.
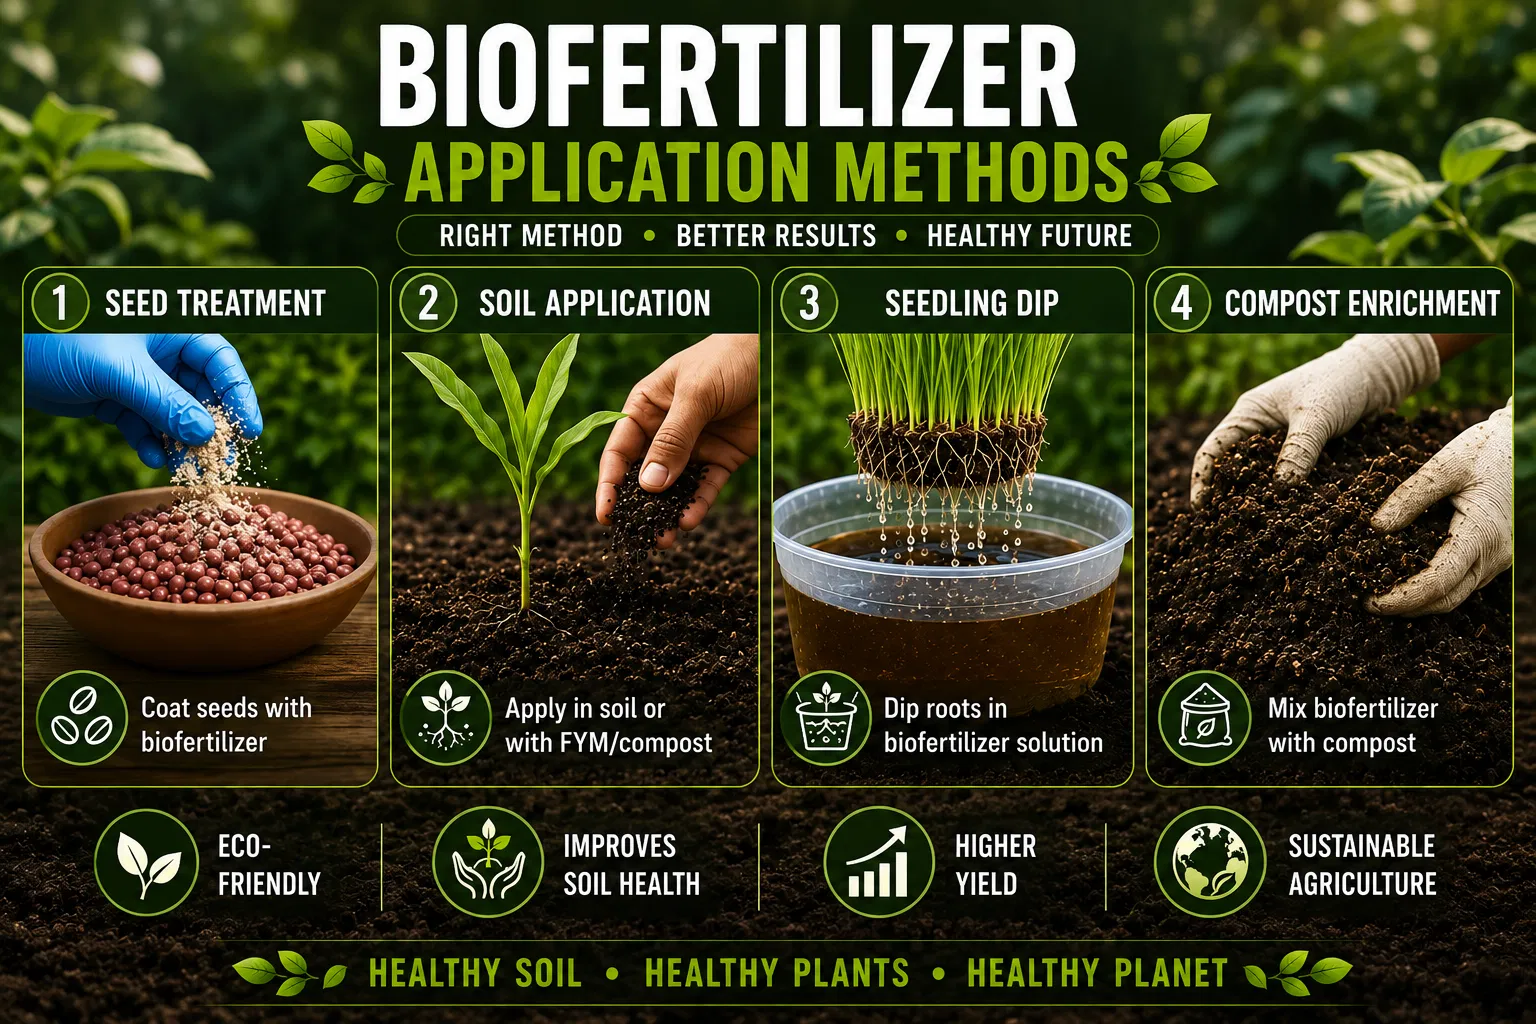
The main methods include seed treatment, seedling root dip, soil application, nursery-bed application, and suitable delivery through irrigation systems. The best method depends on the crop, microbial strain, formulation, and label instructions.
Why Application Method Matters
Biofertilizers work when active microorganisms reach a suitable environment around the seed or root. Correct placement supports early colonisation, while poor application may result in weak or uneven field response.
Before Application
- Check the crop recommendation, batch number, and expiry date.
- Use the correct microbial strain for the crop.
- Store the product in a cool, shaded place.
- Avoid damaged, swollen, leaking, or expired packs.
- Confirm compatibility before using pesticides or chemical nutrients.
- Apply when the soil has adequate moisture.
Choose reliable bio-fertilizers that clearly mention dose, crop, application method, and storage conditions.
Method 1: Seed Treatment
Seed treatment is efficient because it places microorganisms directly around the emerging root. It is commonly used for Rhizobium, Azotobacter, Azospirillum, phosphate-solubilising bacteria, and other compatible inoculants.
- Place seed on a clean sheet or in a clean container.
- Prepare a small quantity of adhesive solution using clean water and the recommended sticking agent.
- Mix the biofertilizer into the solution.
- Coat the seed evenly.
- Dry briefly in shade.
- Sow as soon as possible.
Never dry treated seed in direct sunlight. When chemical seed protectants are also required, follow the label sequence because direct contact with fungicides or insecticides may kill beneficial organisms.
Method 2: Seedling Root Dip
Root dipping is useful for transplanted vegetables, rice, and nursery crops. Prepare the recommended suspension, dip healthy roots for the stated period, and transplant immediately into moist soil. Protect dipped seedlings from hot sun and dry winds.
Method 3: Soil Application
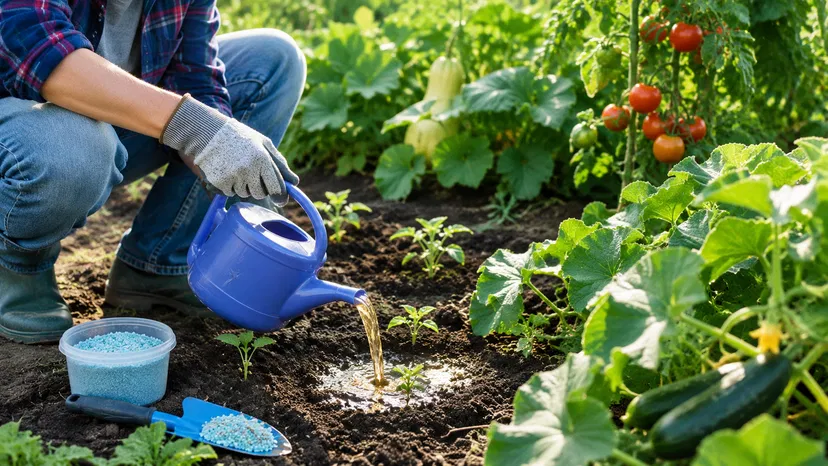
Soil application is used when wider root-zone distribution is needed. Mix the product with cool, mature compost or well-decomposed farmyard manure, keep the mixture in shade, and apply near active roots.
Do not use fresh, hot manure because heat and ammonia can reduce microbial survival. Apply the prepared mixture quickly rather than storing it for several days.
Method 4: Nursery-Bed Application
Mix the product into a suitable organic carrier and spread it evenly over the prepared nursery bed. Light incorporation places microorganisms where young roots will develop. Maintain even moisture without waterlogging.
Method 5: Irrigation Application
Some liquid formulations can be applied through irrigation systems when the label permits it. Check water quality, avoid chlorinated or chemically contaminated tanks, clean filters, and use the solution soon after preparation.
Best Time to Apply
Apply during sowing, transplanting, or early root establishment. Moderate temperatures and moist soil favour microbial survival. In rainfed fields, wait for dependable moisture; in irrigated fields, avoid both dryness and prolonged saturation.
Use With Mineral Nutrition
Biofertilizers improve nutrient availability but may not supply the full requirement of a high-yield crop. Balanced fertilizers may still be needed according to soil tests and crop demand. Avoid direct contact between concentrated mineral salts and microbial inoculants unless compatibility is confirmed.
Common Mistakes
- Using expired products
- Applying the wrong strain
- Drying treated seed in sunlight
- Mixing with incompatible pesticides
- Applying to dry or waterlogged soil
- Using hot manure as a carrier
- Delaying sowing after treatment
Final Thoughts
Correct application is essential for successful biofertilizer use. Protect the living organisms, place them close to roots, maintain suitable moisture, and follow the product label. These steps improve establishment and help crops benefit from biological nutrient cycling.